
Welcome back!
I said you’d see Super Captain’s friends soon. Here they are!
Today I’ll be showing you a week’s work of progress, so it isn’t quite fair to call this a single day of learning.
I’ve made four more illustrations using the techniques I’ve been learning so far, and on each one I’ve expanded my skills further.
For each of these illustrations I have a Design version and a Bits version. The Design is the finished illustration, while this Bits version is meant to be an illustration I can easily copy and paste from in order to rebuild the character from already made parts when making a new illustration.
I’ve done some research in the Adobe community to make sure this strategy was possible.
As long as I have the “Paste Remembers Layers” Option checked in the layers panel settings, I’ll be able to simply copy and paste information from one open project to another.
I figured most of this out while making the first of these illustrations.
Let’s get started then!
Bits Vs Baked

My overall goal is to build a workflow where I could have a library of easily posable characters or parts of characters. This would help make it much easier to make comics or additional illustrations with them in the future.
It was with Light Beam’s design where I worked out the organizational method of having a Design version and a Bits version of the character.
- The Design version of the character has objects joined and grouped in ways that make it easy to apply the final strokes over the fills.
- The Bits version does not have the final strokes and the objects are arranged in smaller pieces more fitting for posing.
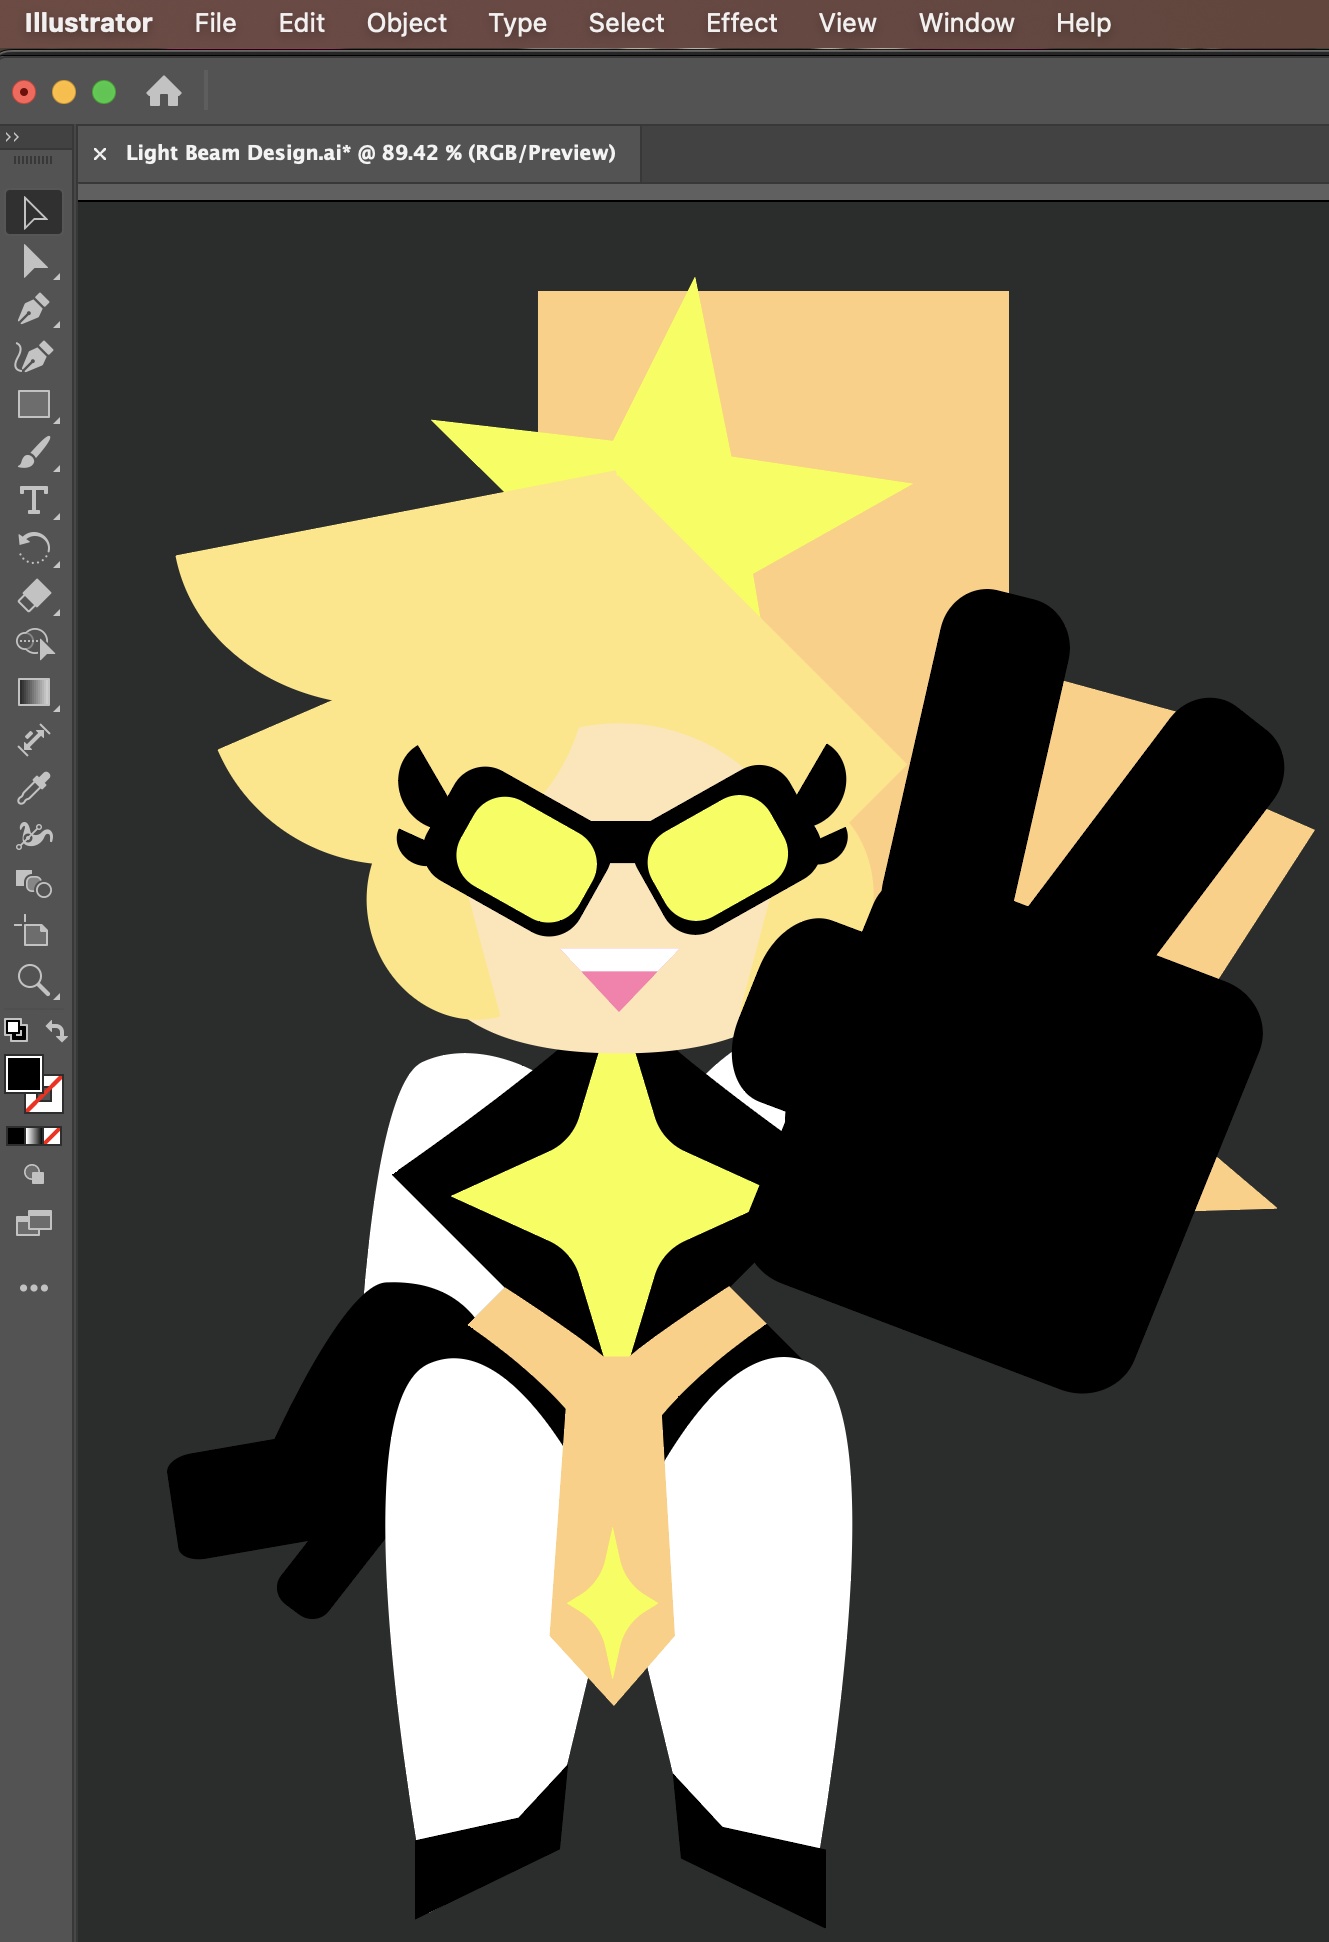
Unfortunately, this solution isn’t ideal for me. In the future I will need to redesign Light Beam in order to group her hair shapes together on the same layer.
If I can apply a stroke to a layer and then edit the layer while the stroke is active, It would make her final design more posable. I would not need a separate Bits design and would be able to skip the step of adding a stroke altogether.
I’ll try this in a future project.
Exporting

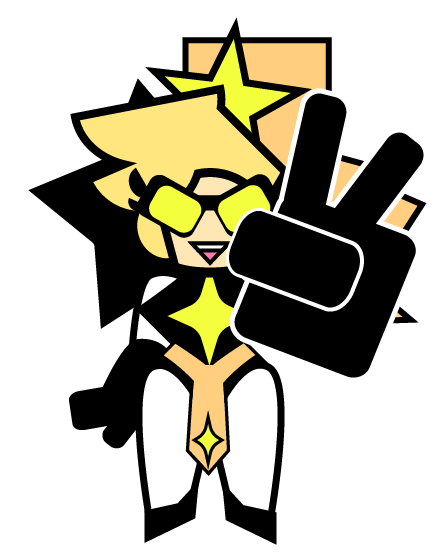
This design was a lot quicker and easier for me to complete as much of it is made of simple shapes.
Once I finished, I realized that I used less strokes in this design than the last. I feel that the contrast between the colors is much higher on Fastfirefull’s design than Light Beam’s.
No, the real challenge was in exporting the design.
Because I was using less strokes and having lots of fills with the same colors next to each other, there were strange muddy lines between the objects.
This was a simple fix thankfully.
I exported through the quick way and chose the option that “did not honor anti-aliasing”.
This method turns off the anti-aliasing effects during the export that were muddying up the edges of objects.
Polygons

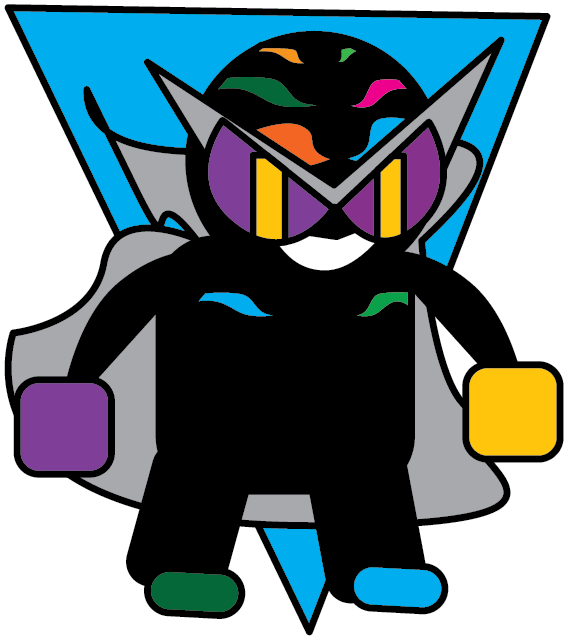
Marty’s design took the longest to figure out in the sketch stage. He has a simple superhero design similar to Super Captain, but I still wanted them to be very different in shape.
In my explorations of shape language with the Polygon Tool I discovered that while you have a polygon selected you can press the (+) or (-) keys on the keyboard to increase or decrease the amount of sides it has.
Speed Round
For the last design in this project I decided to see how fast I could put together an illustration.
Including the final export, it took forty minutes to put this design together. Most of that time was spent on getting the head right.
With my new knowledge of the pen tool, I made the swooping designs on the head and then mirrored them over to the other side. The direct select tool was helpful to adjust the anchor points to fit to the curve of the character’s head.
Of all the designs I’ve made so far, this is the one I’m sure I’ll need to go back and revise. I’m impressed I got it done so fast though!
Reflections
This has been a fun project series!
I’ll continue to use Illustrator for future projects, but for now I’ll move on to learning a new skill to compliment my illustrator skills.
When I ran that TTRPG game my players were very appreciative of the visuals I created. I feel they really helped to enhance the cartoon flavor!
’till next time!
Keyboard Shortcuts
And other useful tricks for macos.
| Copy over entire artboards. | Go to the Layers panel and select “Paste Remembers Layers” | Do this and you’ll be able to select all the objects on an artboard and copy it over to a different open project with all the information preserved. |

Leave a comment