
Created by Adrian Luis using Adobe Illustrator. Character design by Alex Luzula.
Hello all!
Yesterday I decided to dig into Adobe Illustrator to make some art for my tabletop games. In this post I’ll show you the process I took to create the above illustration, all the while linking helpful knowledge resources.
My Process
I went through the first three tutorials Adobe offered to get started. It felt really good to manipulate shapes in vector. Check out the keyboard shortcuts I learned making this image! They’ll be listed at the bottom of this post.
Basic Shapes
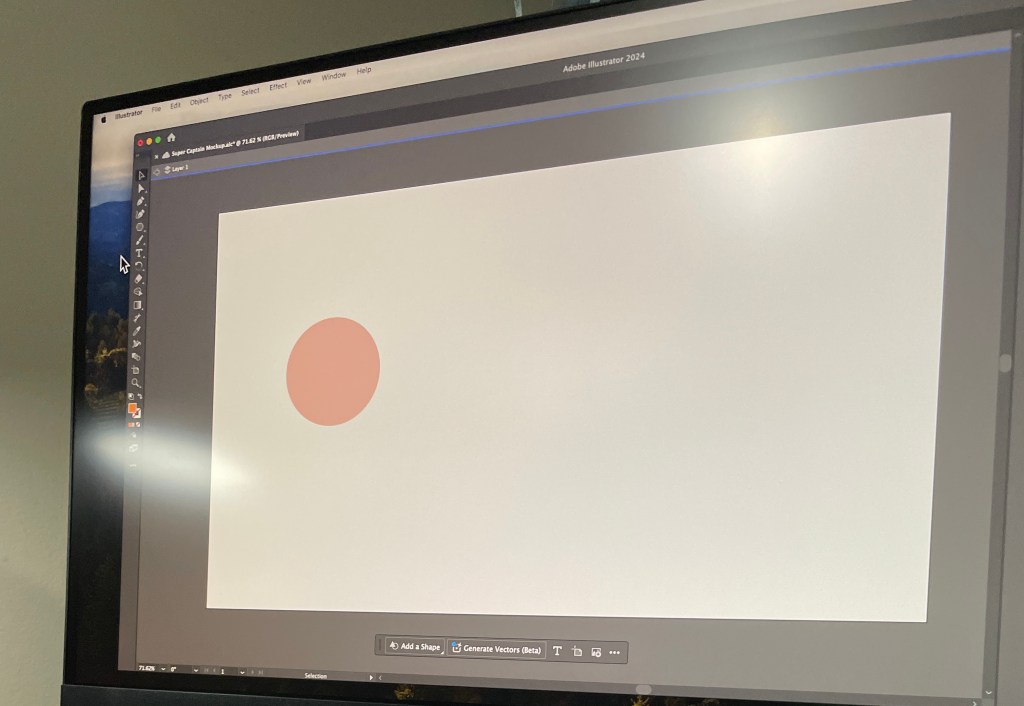
To create this character, I needed to start with simple overlapping shapes. Drawing circles with the Ellipse tool was easy enough, but I needed to go to youtube to learn how to make semicircles.
To make semicircles, I created a rectangle intersecting the circle I wanted to cut, then I used the inverted Shape Builder tool to delete the half of the circle covered by the rectangle.
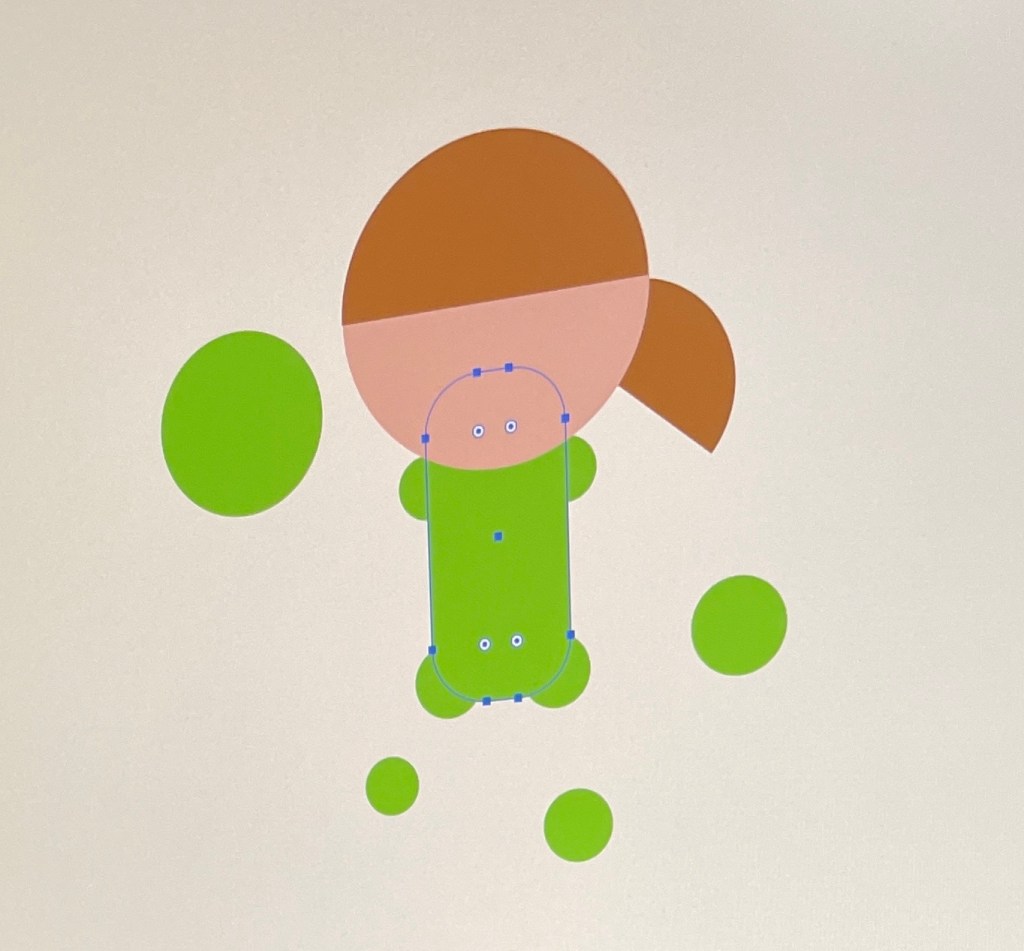
Dragging the interior circle icons on a selected object will allow you to adjust the roundness of all its corners.
Manipulating Shapes
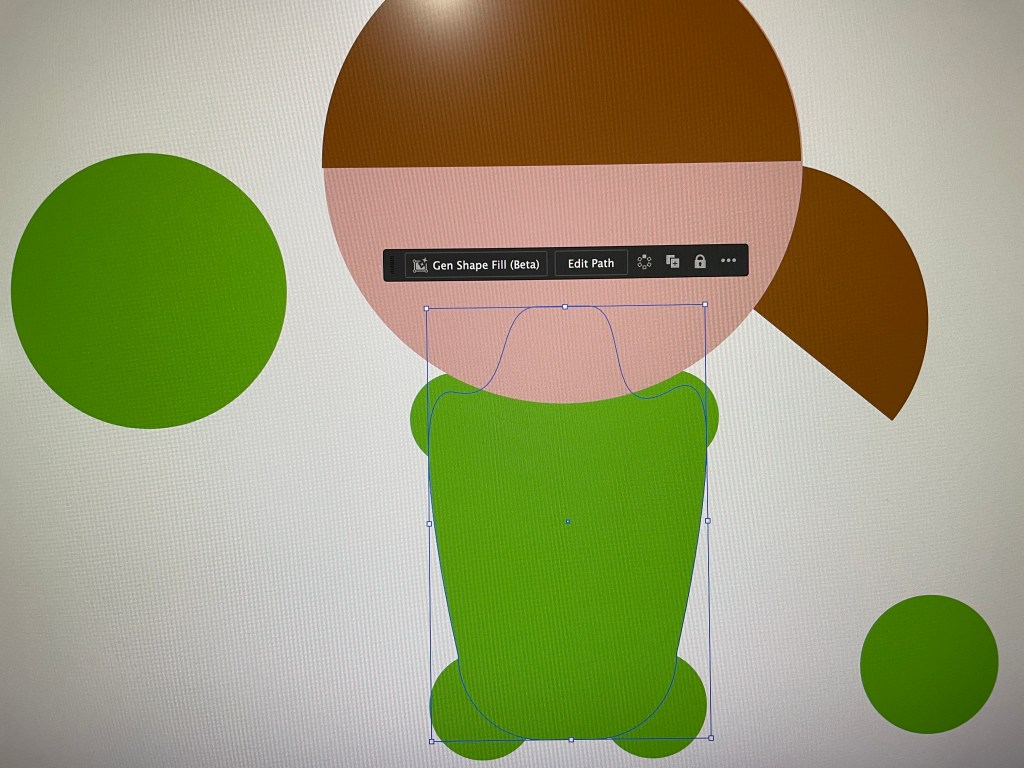
I wanted to use the Blend tool to draw the arms by connecting the green spheres. To make the effect convincing, I needed to make sure the objects were all stacked correctly so the arms would not draw over the torso.
The Blend tool works by choosing two objects. Illustrator will then create a path between them and draw shapes between them along that path. Once drawn, you can edit the path.
Polish and Details
As you can see below, the most detailed part of the illustration is the face. The eyes were the most complex part to complete.
I had to create one eye first, duplicate it, then mirror it over. To control the stroke over the eye, I broke the shape’s path and added new anchor points behind the pupils to preserve its shape.
The eyes originally extended over the edges of the circle, but I was able to use the Shape Builder to select the overextended segment and delete it.

When applying the stroke, I had to make sure the caps of the stroke were the correct orientation to prevent the whites of the eyes from overlapping the stroke.
Additionally, when applying the stroke to the outside of the character, I had to make sure I was applying the effect after the body was drawn. Otherwise, the stroke would apply to each shape individually. This would interfere with the Blend effect, which would draw the stroke over every in-between shape. Ick!
Thoughts
Overall, I had a lot of fun trying out Adobe Illustrator. The vector graphic format makes sense to me, and learning the keyboard shortcuts from the start makes everything go much faster. I’ll be making more with this tool for sure.
’till next time!
Keyboard Shortcuts
And other useful tricks for macos.
| Deselect | Shift + Command + A | |
| Fit Artboard to View | Command + 0 | |
| Direct Selection | A | Hold “Option” to drag away bezier handles from anchors. |
| Shape Builder | Shift + M | Hold “Option” to remove shapes in the selection. Good for cutting shapes without messing with anchor pins. |
| Send to Back/Front | [ v ] + Command | remove “Command” to send the selection back only one. |
| Eyedropper | I | |
| Pin Tool | P | |
| Blend | W | Select two objects, then the program draws copies on a new path connecting them. The path can also be edited! |
| Gradient | G | Select an object, then mess with the gradient options in the properties sidebar. |

Leave a reply to Adobe Illustrator: Day 3 – Everything Adrian Cancel reply